

How To Load UI Using The "Loading" Page In NextJs
The Beginner Guide To Using This Loading Page


Photo by Mike van den Bos on Unsplash
What Is The "Loading" Page?
The "loading" page is a built-in Nextjs page that allows a page to load its data, and the user sees that there is a page loading and not just a blank screen. This is useful, especially when fetching large amounts of data, and paired with parallel routes, it can show different information that has loaded and those that have not.
Writing Code - Setup
The first step is to create a NextJS application, and if you are unsure of how to do that, you can have a look at my beginner guide to creating a NextJS app. By doing this, you should be able to open the code by using the code. to open VisualStudioCode with the app's code.
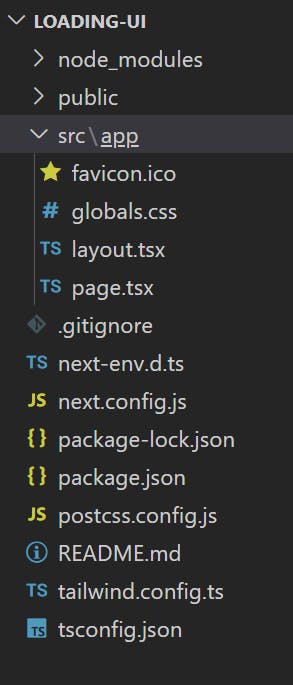
On opening the code, you should see a file layout similar to mine.
We are going to clean up some of the code.
Starting off, head over to the app page and delete everything inside of the return statement and add a div with some text.

Next, if needed, go to the global.css page and delete everything except the tailwindcss if you have used that.
That is all of the setup phase, and we can move on to the loading page code.
Writing Code - Using "Loading" In Pages
Now that you have completed the setup phase, we can now move on.
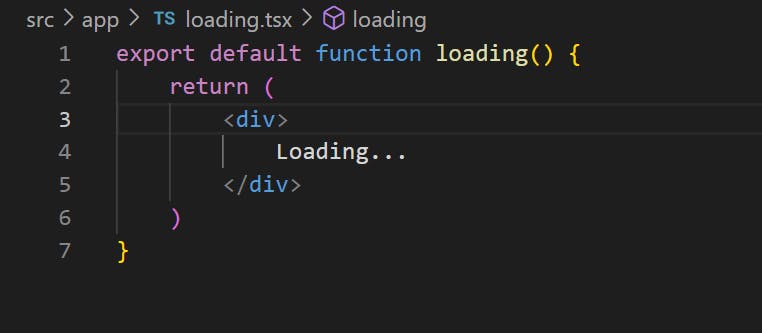
The first thing that you are going to want to do is create a folder in the src/app folder. Inside this folder, add a file. But this isn't a normal file. Instead of using page to define a page, we can also use loading. What this does is that any file that is in the same folder as the loading page will be affected by this loading element.

Also adding a page to redirect to.
After creating this file, we will add a normal function to display the text when the app is loading the page.
Adding some CSS to the text will help you see the loading stage.
The last step is to link up the home page and the new page. By going to the home page, add this code:
import Link from "next/link"


export default function Home() {
  return (
    <div>
      HelloWorld
      <Link href="/products">Products Page</Link>
    </div>
  )
}
Now that we have finished all of the code, we can view it in the browser.
As you can see, when you press the products button, a very quick text will come up reading - "loading". You can see this better by increasing the size of the text and the duration can be increased by using data that is being fetched and rendered, not being loaded onto a page
Conclusion
In conclusion, you should be able to use the loading function and see it in action, built from scratch.