


What Is Mapping?
Mapping is a convention used in both React and Nextjs that is used to make multiple functions without having messy and repetitive code. Mapping can be used to list links, text, and images. For example, if you wanted three different links, instead of writing three separate link functions, you could use the map method, making your code a whole lot more organised and easy to read.
Writing Code - Setup
For the setup, we will be creating a Nextjs app, and if you are unsure of how to do that, you can visit my other blog that covers how to create a Nextjs application. Once you create your NextJs application, you can open the code by running code . in your terminal, and that should open up your code.
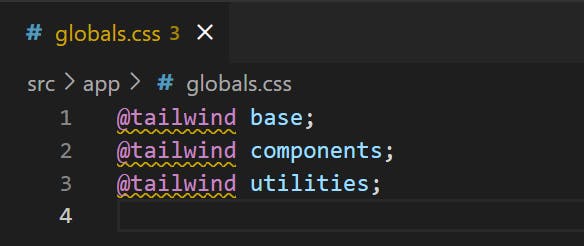
Now that you have your code up and running, we can do some cleaning up inside some of the pages. The first page you are going to want to clean up is the Global CSS page. Inside there, you are going to delete everything except the tailwindcss code if you have it in there.
The next file we are going to clean up is the page.tsx file in the src/app folder.
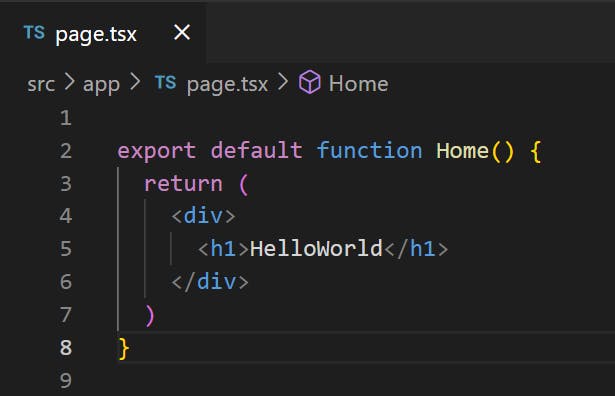
You are going to get rid of everything inside the return section and add a div, and inside the div, add some text.
This is the end of the setup section, and now you are ready to start coding the map convention.
Writing Code - Using The Map Convention
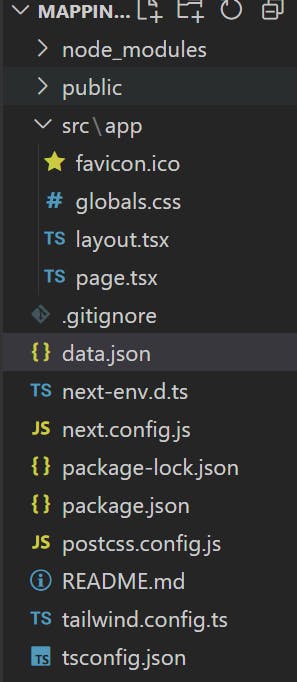
For us to map something, we will create a JSON file to grab the information for our map convention. So outside of the src/app folder, add a JSON file call data. This JSON file will be responsible for storing information for us to use.
Inside the JSON file, we will be adding some code.
{
    "product1" :[
    {
        "id": "1",
        "Title": "Product 1",
        "Description": "This Product Is Very Good"
    }
]
}
You can see that we have a product1 list, and inside of that, we have an ID, title, and description.
Now, inside the root page, we will import this JSON file.
import data from "../../data.json"
Now that we have access to the JSON file, we can use the map convention.
The first thing that we have to do is put curly braces and use the data import that we just created. Then we add the products1 list, and then we will use the map convention by adding .map after products1.
{data.product1.map}
Then we will add brackets
{data.product1.map(item =>(
        <div></div>
      ))
Next, you can add anything to the data.products1 In this example, I used item, and then you can create an arrow function with a div inside of it.
Now we can use the proudcts1 information that we have stored in the JSON file.
{item.Title}
We can add a title by adding curly braces, and using the item keyword, we can automatically navigate to the JSON file and then add .title
We can do this to all of the information inside the JSON file.
import data from "../../data.json"

export default function Home() {
  return (
    <div>
      {data.product1.map(item =>(
        <div key={item.id}>
          {item.Title}
          <p>{item.Description}</p>
        </div>
      ))

     }
    </div>
  )
}
If you start it in the browser, you can see that the text is being displayed.

Conclusion
In conclusion, you should have learnt how to map in Next and the basics of mapping and its purpose. You should be able to use this information and take it into real situations where you will need to map information overall making it more reusable, clean and organised.